

it all started with this cabinet that i bought off of ksl. okay, actually, it all started with this tutorial that i saw on a blog that i follow. i thought, "i can do that." so i decided to, and began searching for a cabinet to turn into a play kitchen for the girls. i found this nightstand on ksl for $12 and some paint, a metal bowl from a thrift store, a dowel, some fabric, and some new hardware later, it became this:

i debated whether i should give it to madeleine for christmas, but we are doing christmas in boise this year and since we couldn't take it with us and madeleine is a little too young for, "i made you a play kitchen, you'll get it in a week," i decided to just involve her and let her play with it for a couple extra months. we'll dress it up with some pots and pans and felt food come christmas. in the meantime, she can use her imagination.

the sink is probably my favorite part. i wanted a bowl with a bigger lip so that the hole we cut didn't have to be as precise, but since i couldn't find any bowls like that for under $10 (the goal with this play kitchen was to keep it inexpensive), i bought this one from a thrift store and put my trust in my dad's superior tool skills. he pulled through and worked some definite magic with a jigsaw. the bowl fits in like a glove.
better than that though, is the fact that he had this faucet fixture for us to use. i was planning on using a j-shaped p.v.c. pipe from home depot (low budget, remember?) and was thrilled when i was explaining my plans to my dad and he said, "i have just the thing for you." i couldn't have planned it better.

i painted the burners on with black paint.


added a handle and painted the inside of the cupboard front black for the oven.
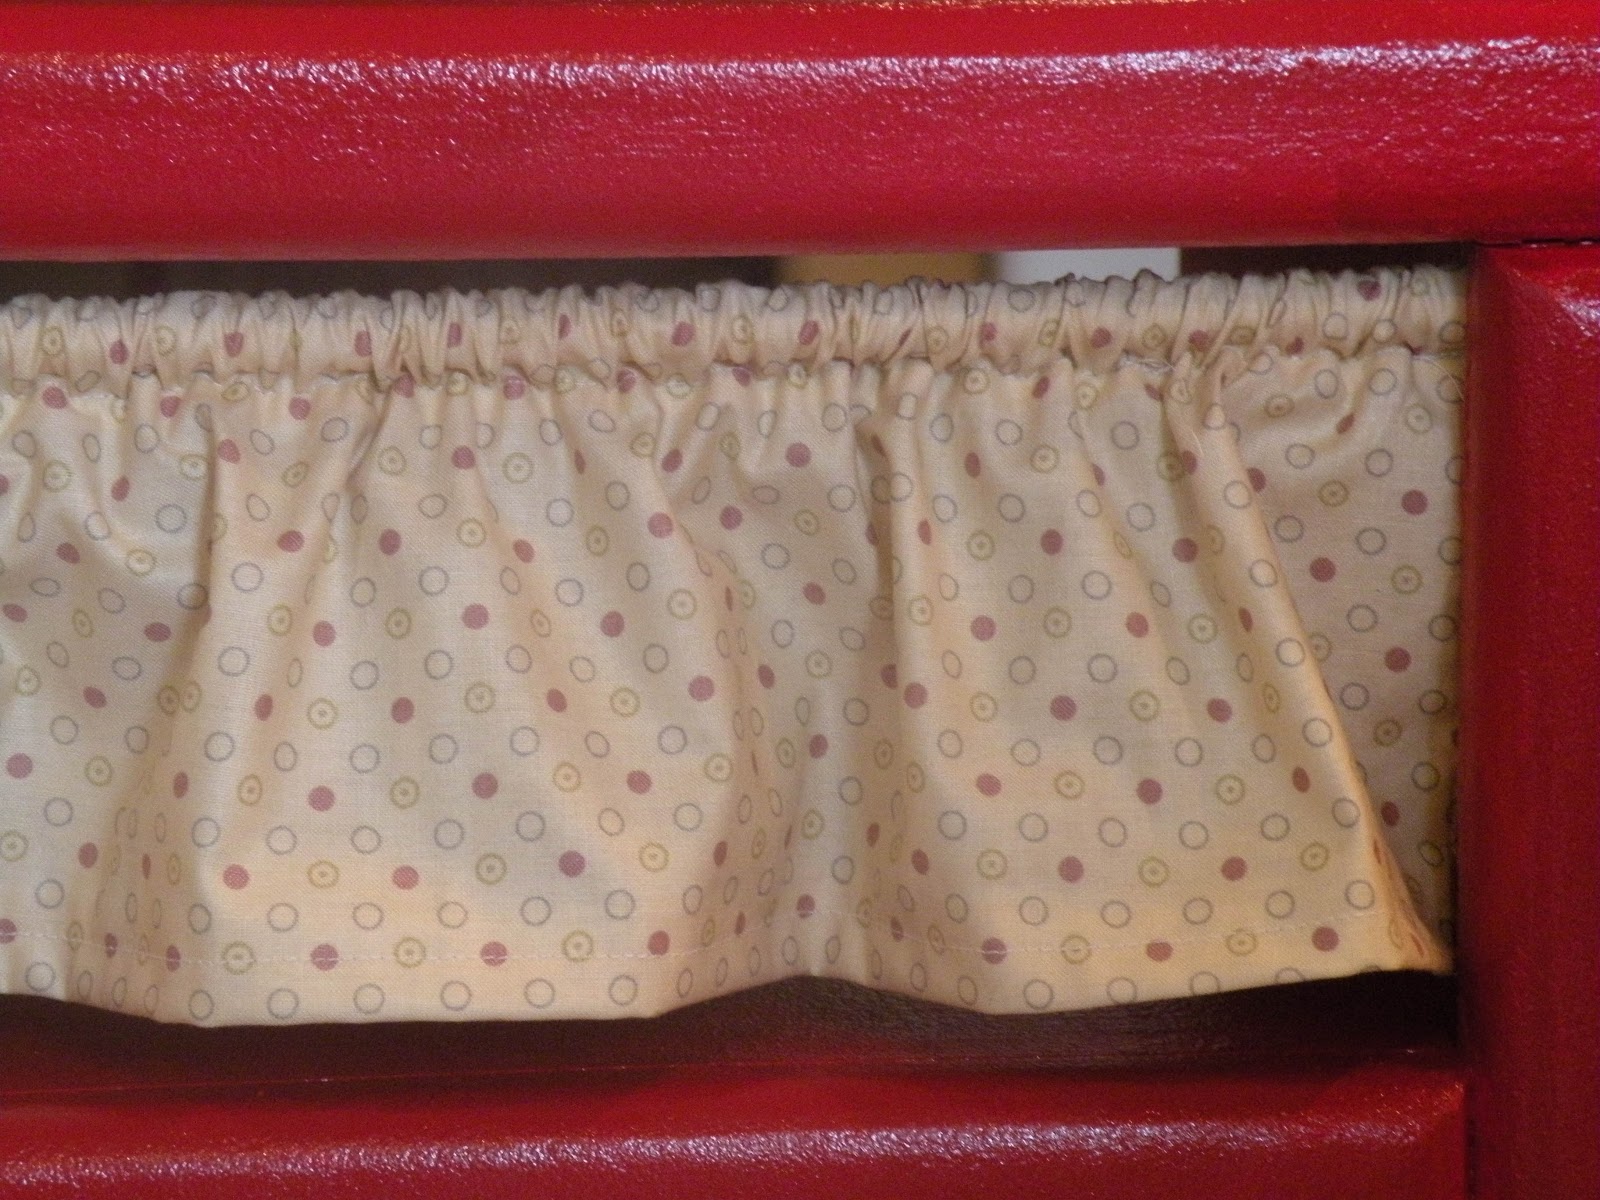
made a curtain with some fabric that madeleine picked out of my fabric stash and threw it on a dowel.

madeleine was asleep when i finished it, so rachel got to check it out first. she immediately climbed into the cabinet.

i am really glad that i decided to just make it now and let madeleine be involved in the process. it was really fun to have her get excited about it, too. she even got to help with the painting.

i decided to let her paint the back, originally thinking that i would just paint over it at the end. but after letting her do it, i decided that i would leave it. it's the back and no one else really sees it, but it's fun for me to look at and see her imprint on the project and to remind me of her when she was little in years to come.
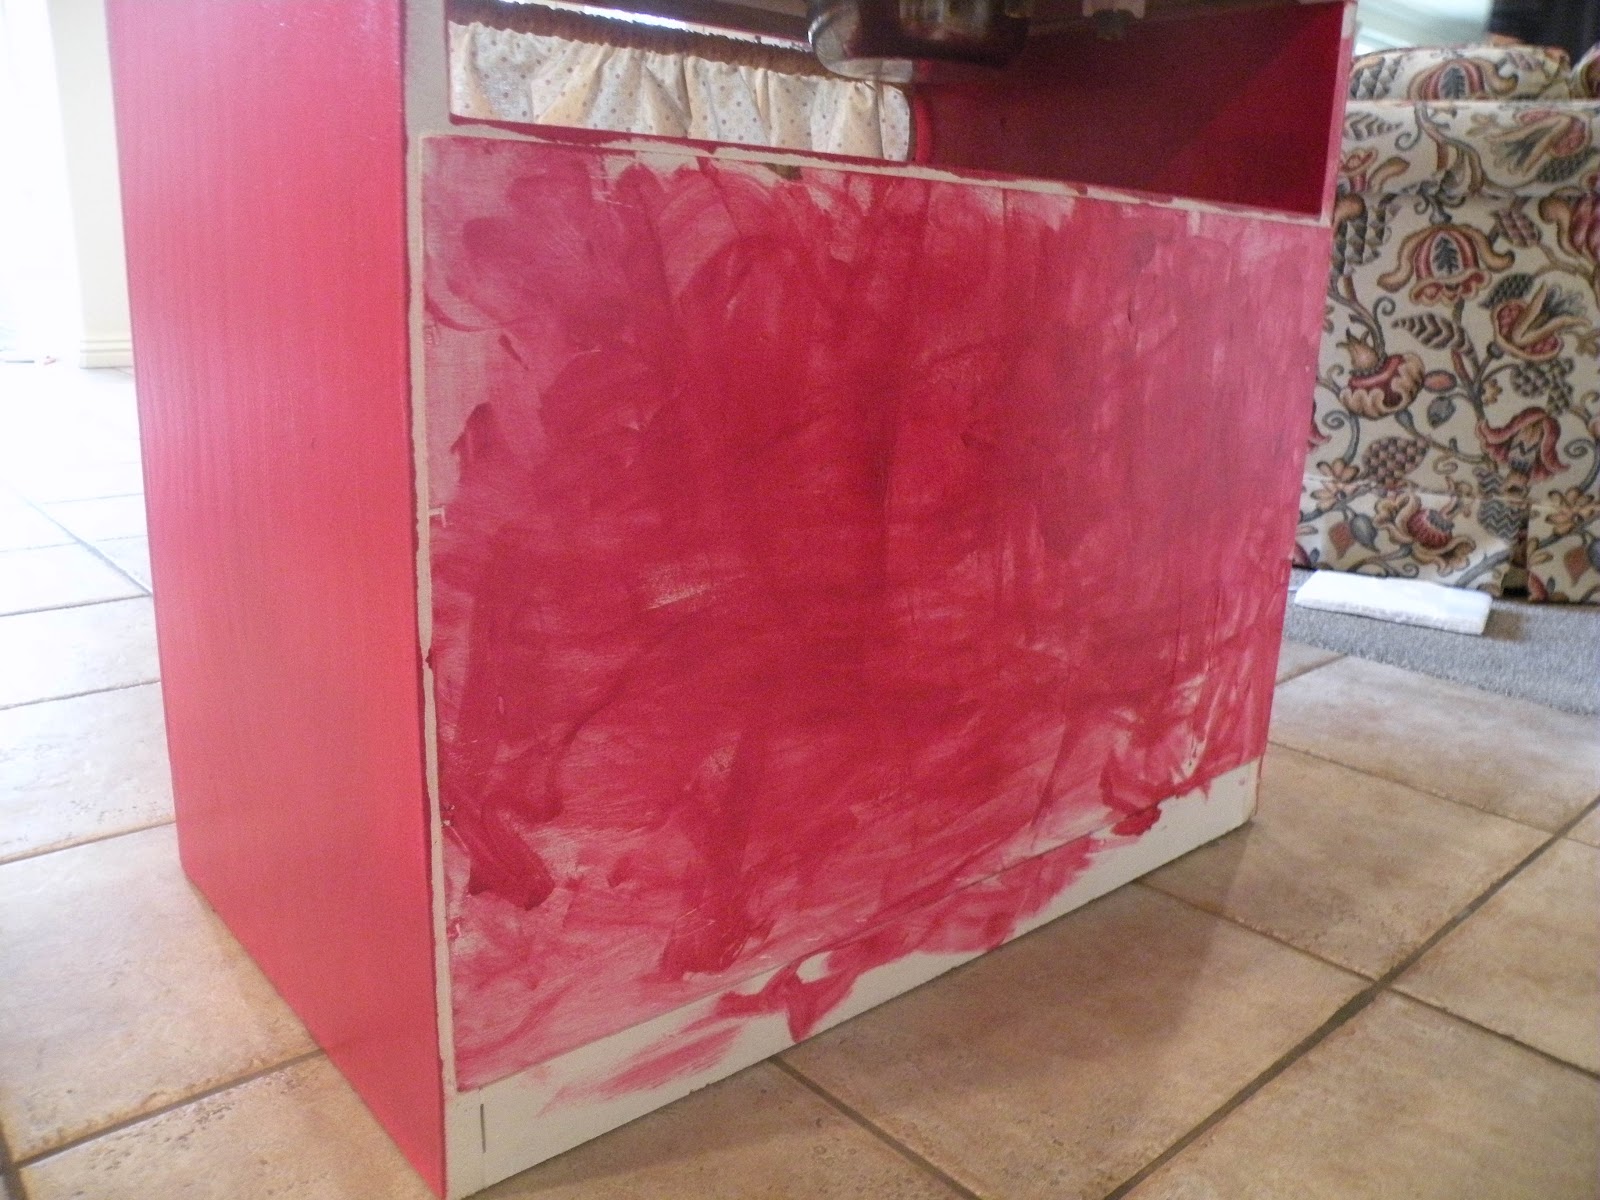
kind of like blue ink handprints across the white wood floor.
1 comment:
Debra - this is so cute. What a clever girl you are!
Post a Comment